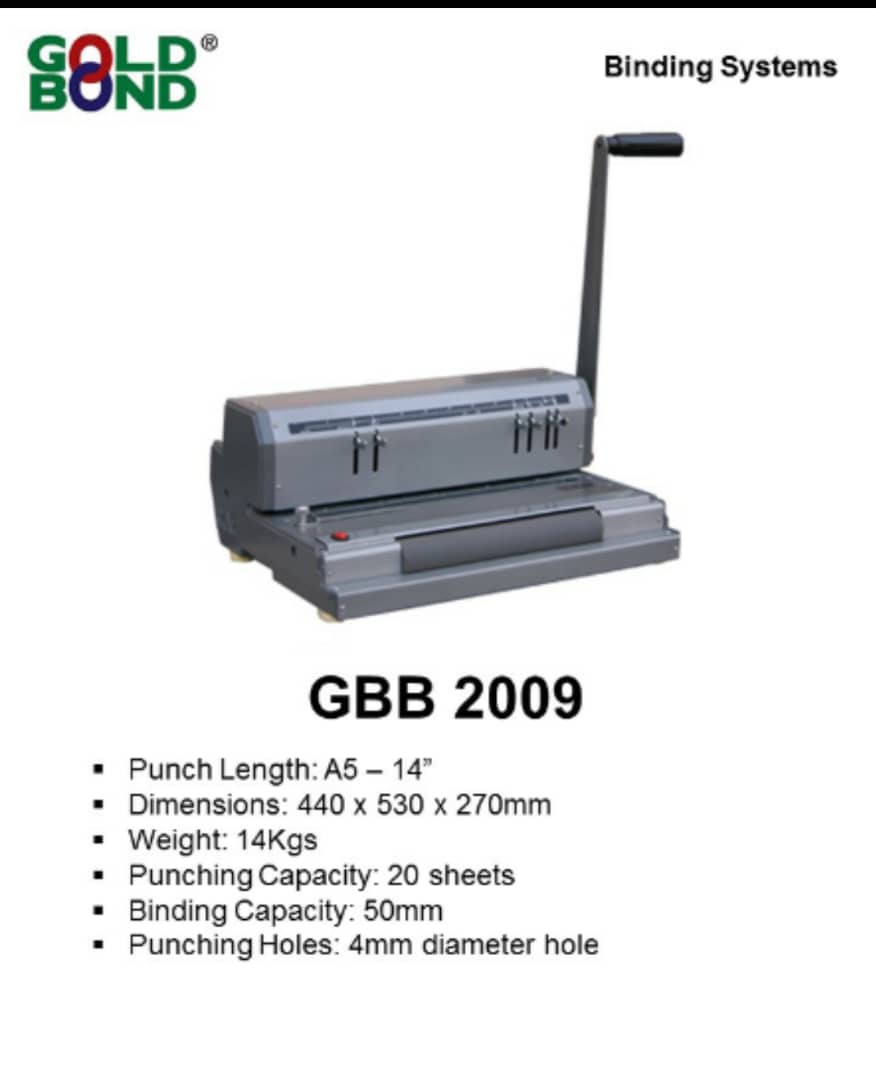
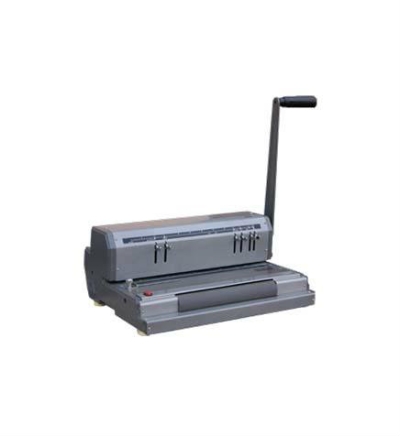
GOLDBOND Heavy Duty Spiral or Coil Binding Machine
Model : GBB 2009
FEATURES & SPECIFICATIONS :
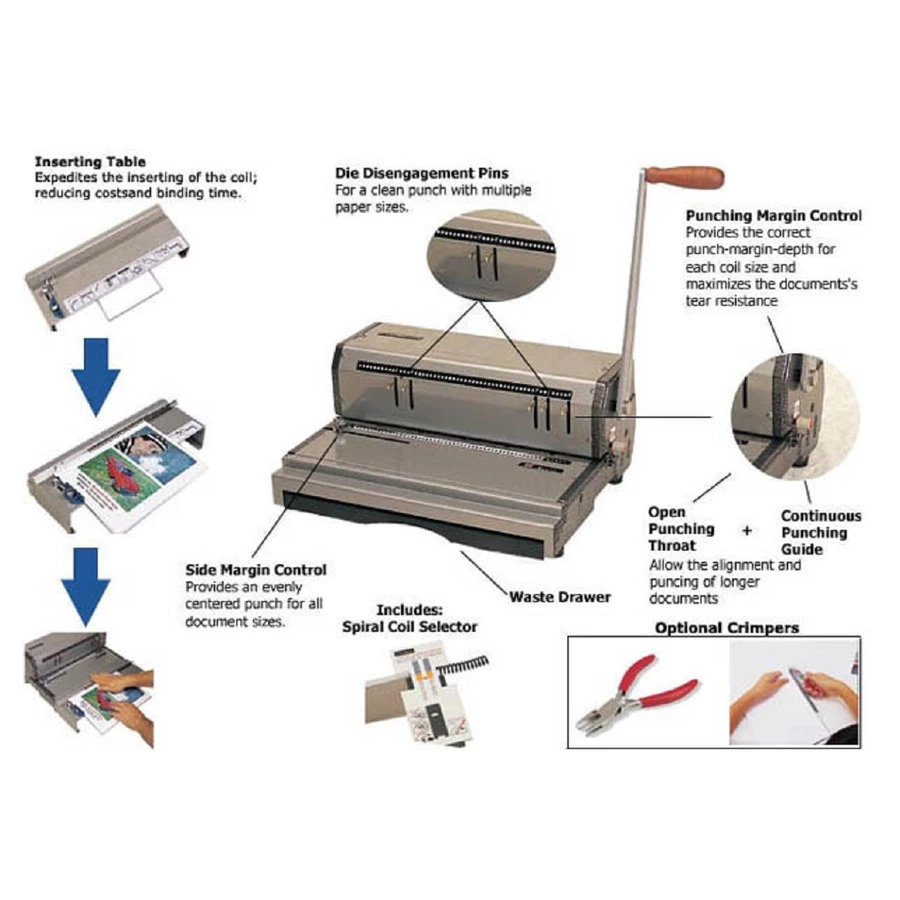
- Full Handle Bar: for left, right, or two-handed punch operation
- Punch Length: A5 – 14
- Open Punch Throat
- Punching Holes: 4mm diameter hole
- Punch Holes: 43 round holes
- Max. Binding Capacity: 50mm
- Punching Capacity: 20 sheets
- Operation: Manual
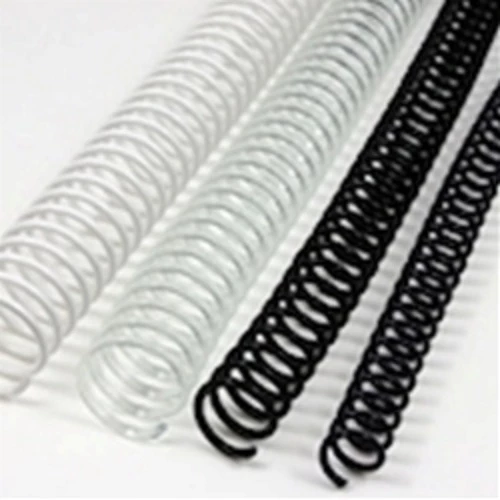
- Pitch: 4:1 Coil (.250 spacing)
- Punch Capacity: 20 sheets (based on 20 lb. paper)
- Max. Binding Length: 11.81″
- Binding Capacity: 2” (approx. 440 pages)
- Depth Margin: Adjustable (2.5mm, 4.5mm, and 6.5mm)
- Disengage able Dies: Fully-disengage able (46 dies)
- Coil Inserter: Electric (up to 7/8″)
- Dimensions: 440L x 530W x 270mm
- Weight: 14kgs
HOW TO BIND A BOOK :
Coil binding a document is very easy and usually involves only a few simple steps.
- Set up the coil-binding machine. If equipped, adjust the margin depth, guides and punching dies as needed.
- Assemble the book to be bound. This includes both the cover sheet and back cover.
- Select the first pieces of the book to be punched. This is determined by the maximum amount of sheets your binding machine can punch at once. Please be aware that punching the maximum amount of documents your machine can handle every time can potentially wear out your machine faster than if you punch 80% of the maximum amount.
- Now punch the paper. As each stack of paper is punched, set it to the side. Make sure that the punched documents are in proper order. Punching may be done by pulling a handle or pressing a button, depending on the coil-binding machine being used.
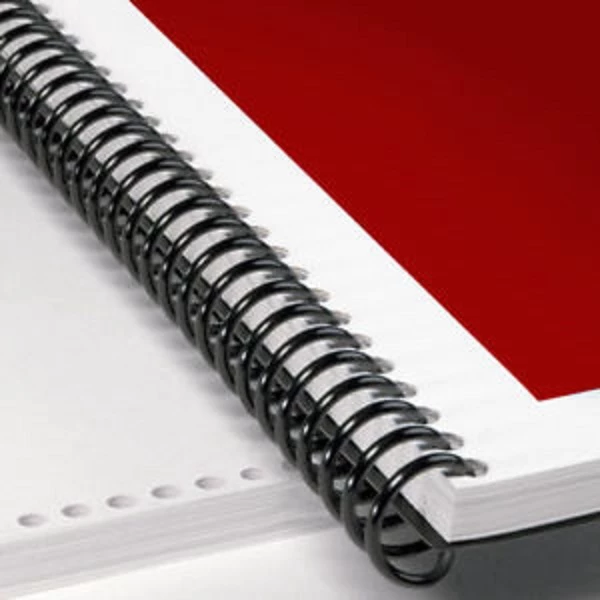
- Take the punched paper and jog it together, making sure the holes are properly aligned.
- Now spin the coil-binding element through the first three to four holes. Now let the coil inserter spin the coil through the remaining holes.
- Use a set of coil crimping pliers to pinch off the excess coil on both ends of the machine. (This not only removes excess coil, but also keeps the coil from spinning back out the holes. )
- You are now done coil binding a book and are ready to move to the next book to be bound.